I Solemnly Swear That I Am Up To No Good - The Azara Skirt in Quilting Cotton
I mentioned recently that I went into Joann’s and bought lots of nerdy fabric. It was a bit harder on our bank account than I intended, but if you factor in the amount of money we saved by not getting custom clothing made (or buying real drapes - will post about that soon), it’s not so bad, right?
One I found was the Marauder’s Map from Harry Potter. 😍 I’ve seen some beautiful (and somewhat pricy) skirts online with this pattern on it, mostly in cute circle skirt styles, but I decided I wanted to try something different.
The hard thing about finding this awesome fabric at Joann’s, though, is that typically it’s quilting fabric, which means it’s not necessarily intended to be turned into clothing. But when you see Marauder’s Map fabric for sale, you don’t ask questions, you just buy it. Trust me. I’ve thought about getting it custom printed, somehow scanning in the map my mom got me years ago and turning into something at Spoonflower, but that’s at least twice as expensive, and more time consuming since I’m mediocre at Photoshop. (Side note - a quick search on Joann's site shows that they do have the Marauder's Map in a knit fabric now, but I can't vouch for it at all - someone let me know if you get it!)
While hubby skied one day, I got brunch and brainstormed
So what is a Harry Potter fan-girl to do? First I tried to find a good, structured skirt pattern that I wanted to use.
I’ve been eyeing the Azara Skirt pattern for a while now on Deer & Doe’s website, but the recommended fabrics were all much flowier than quilting cotton. I emailed them to ask if they’d ever made the skirt with a quilting cotton, and got a quick response saying that they made some muslins, which ended up being a little more triangular and had less drape, but as long as that was a look I was ok with, it could work just fine.
The large format prints worked great for me - I'll definitely do it again!
I decided to go for it - I bought the PDF, and had it printed out at Fedex. For two large sheets, it was under $10 to print, which isn’t so bad. Including the price of the PDF, it’s comparable to buying the print and having it shipped from France, but you don’t have to wait as long, and you don’t have to worry about the folds in the paper.
The first thing I did was wash the fabric with fabric softener and dry it with tennis balls. Twice. This was to soften up the fabric as much as I could before beginning. I wouldn’t say the fabric became luxuriously soft or anything, but it definitely feels better than it did before I washed and dried it.
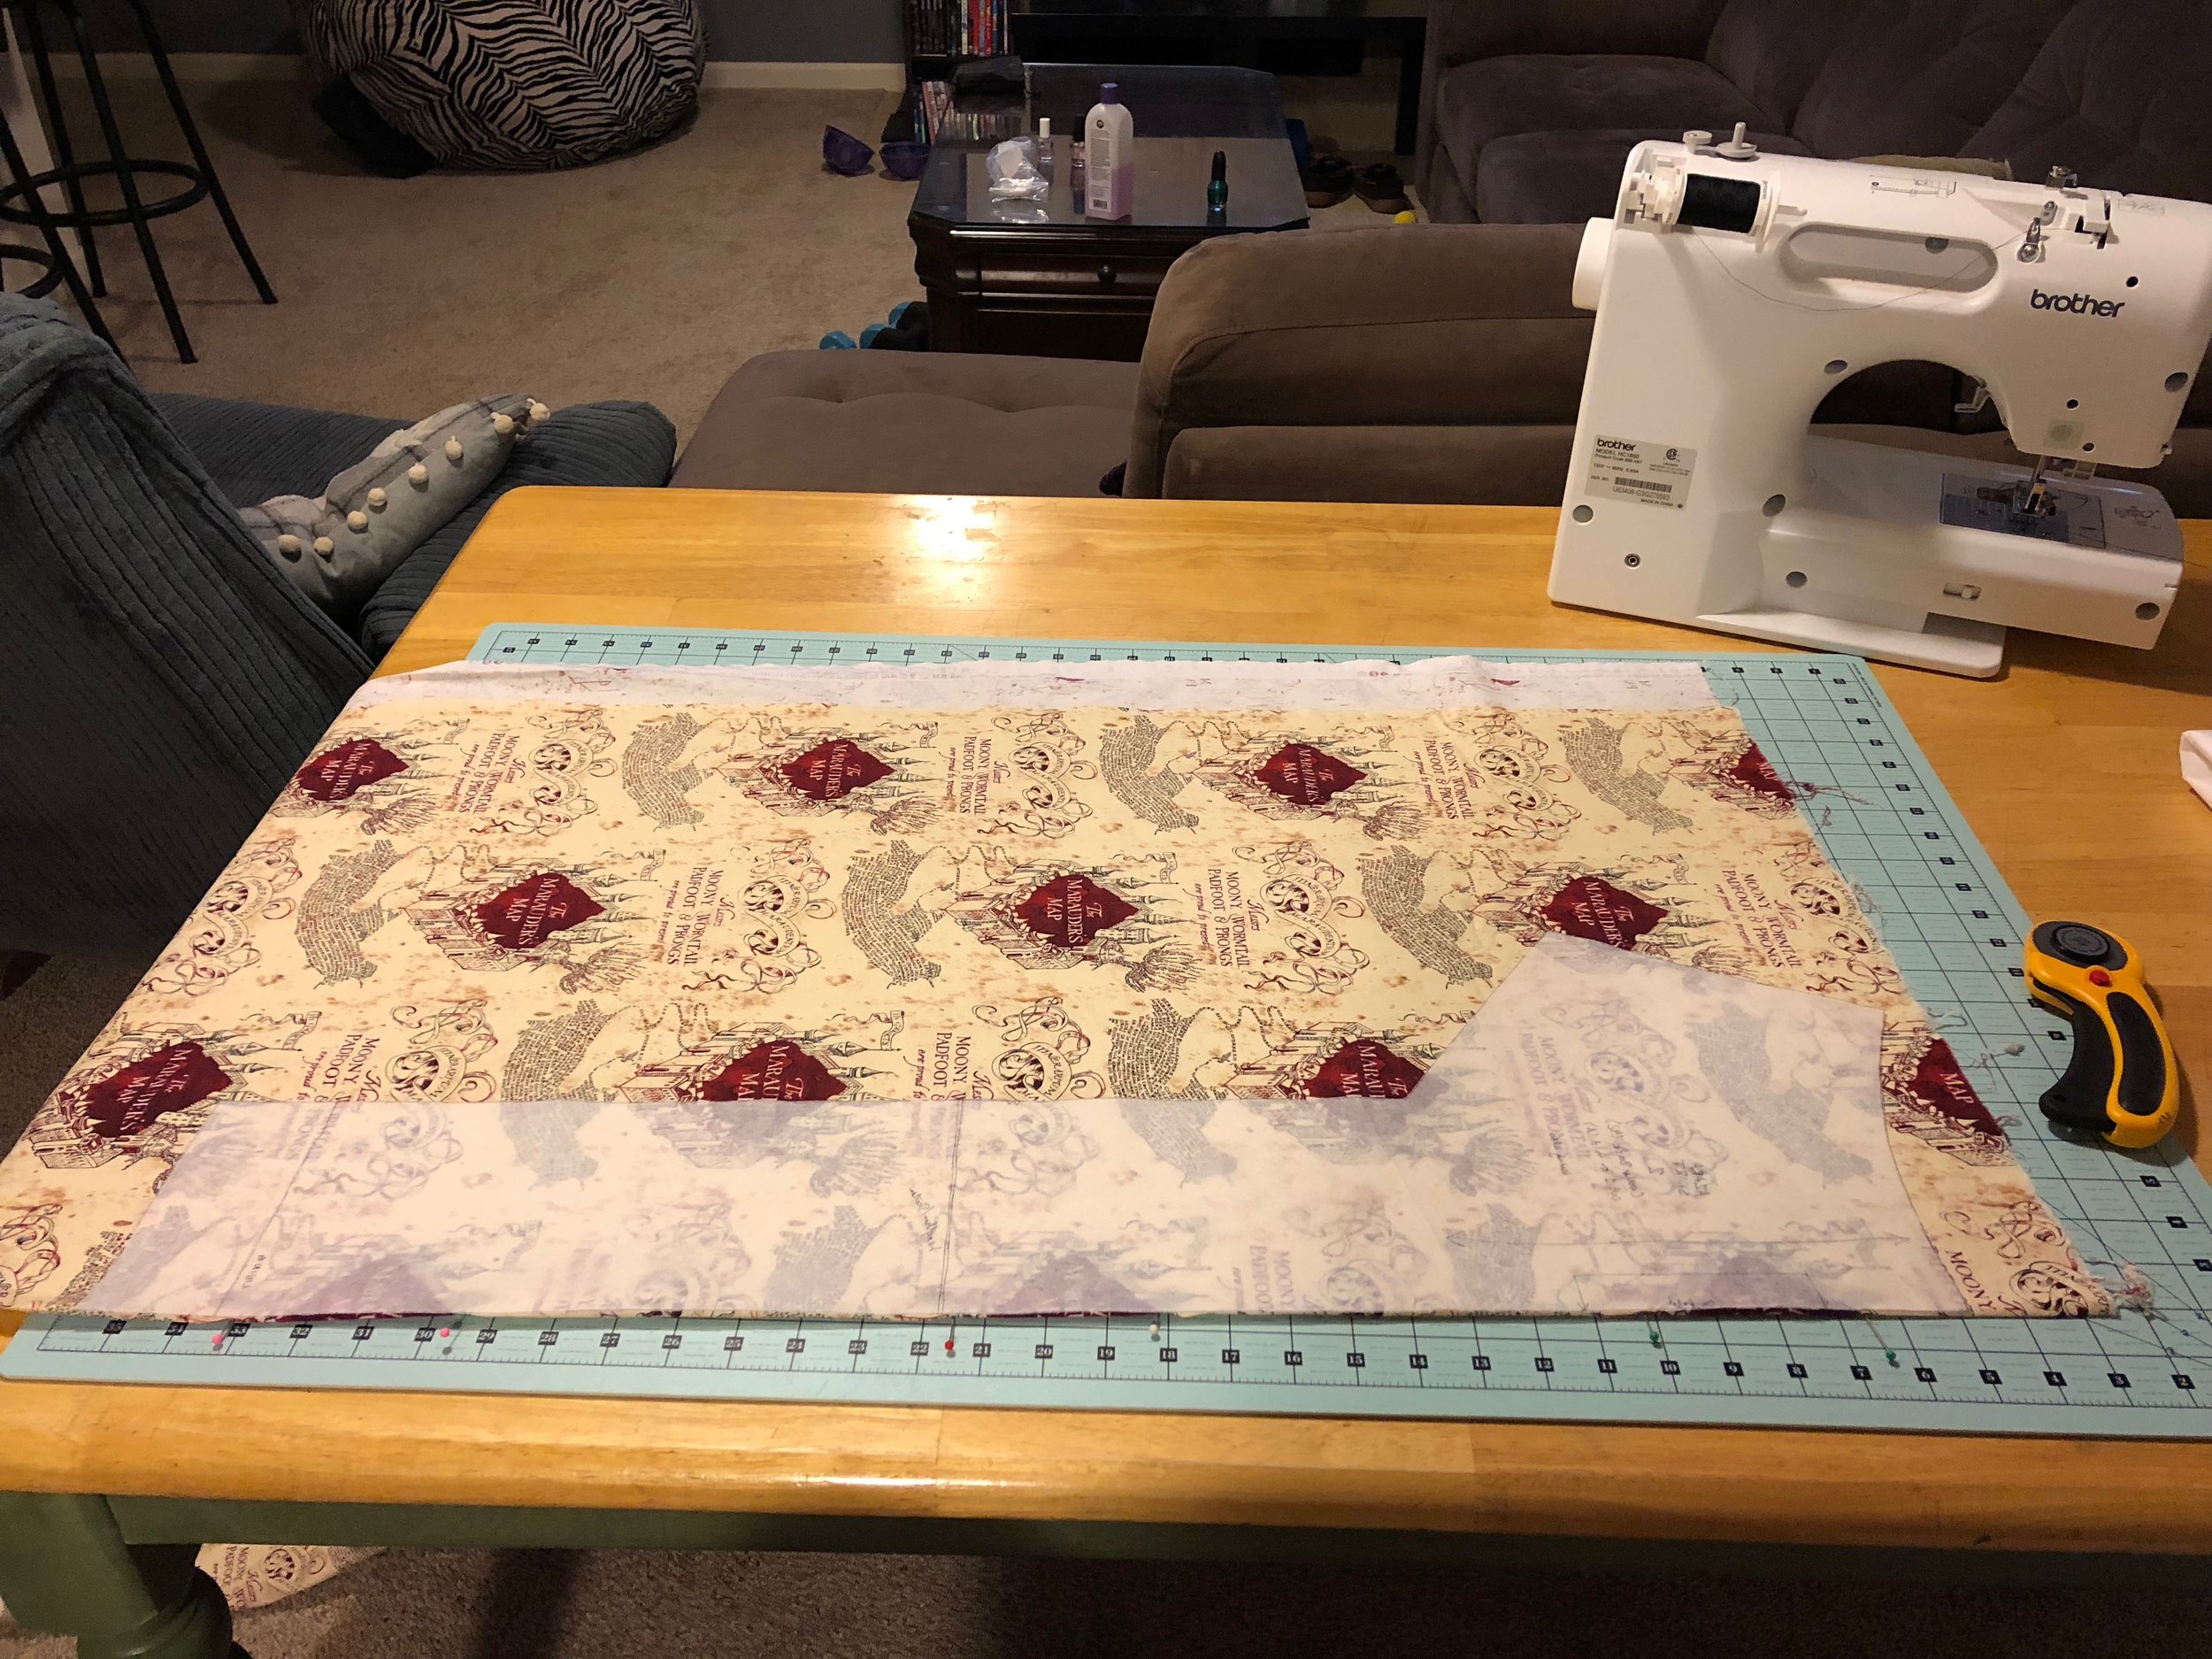
The Azara Skirt has two versions - one with buttons and one with a zipper. I decided to go for the buttons. Rather than cut up the large format paper, I traced my pieces onto tracing fabric. This is MAGIC because it's cheap and you're not destroying the original (and can then use different sizes in the future). This pattern definitely pushed me out of my comfort zone a bit, because I’d never fully lined a garment (you don’t have to line it, but since this fabric was stiffer and had more friction, I didn’t want it to ride up too much), and I’d never put in a row of buttons. I also wanted to make the skirt as symmetrical as possible, so I very carefully placed my cutouts to accomplish this.
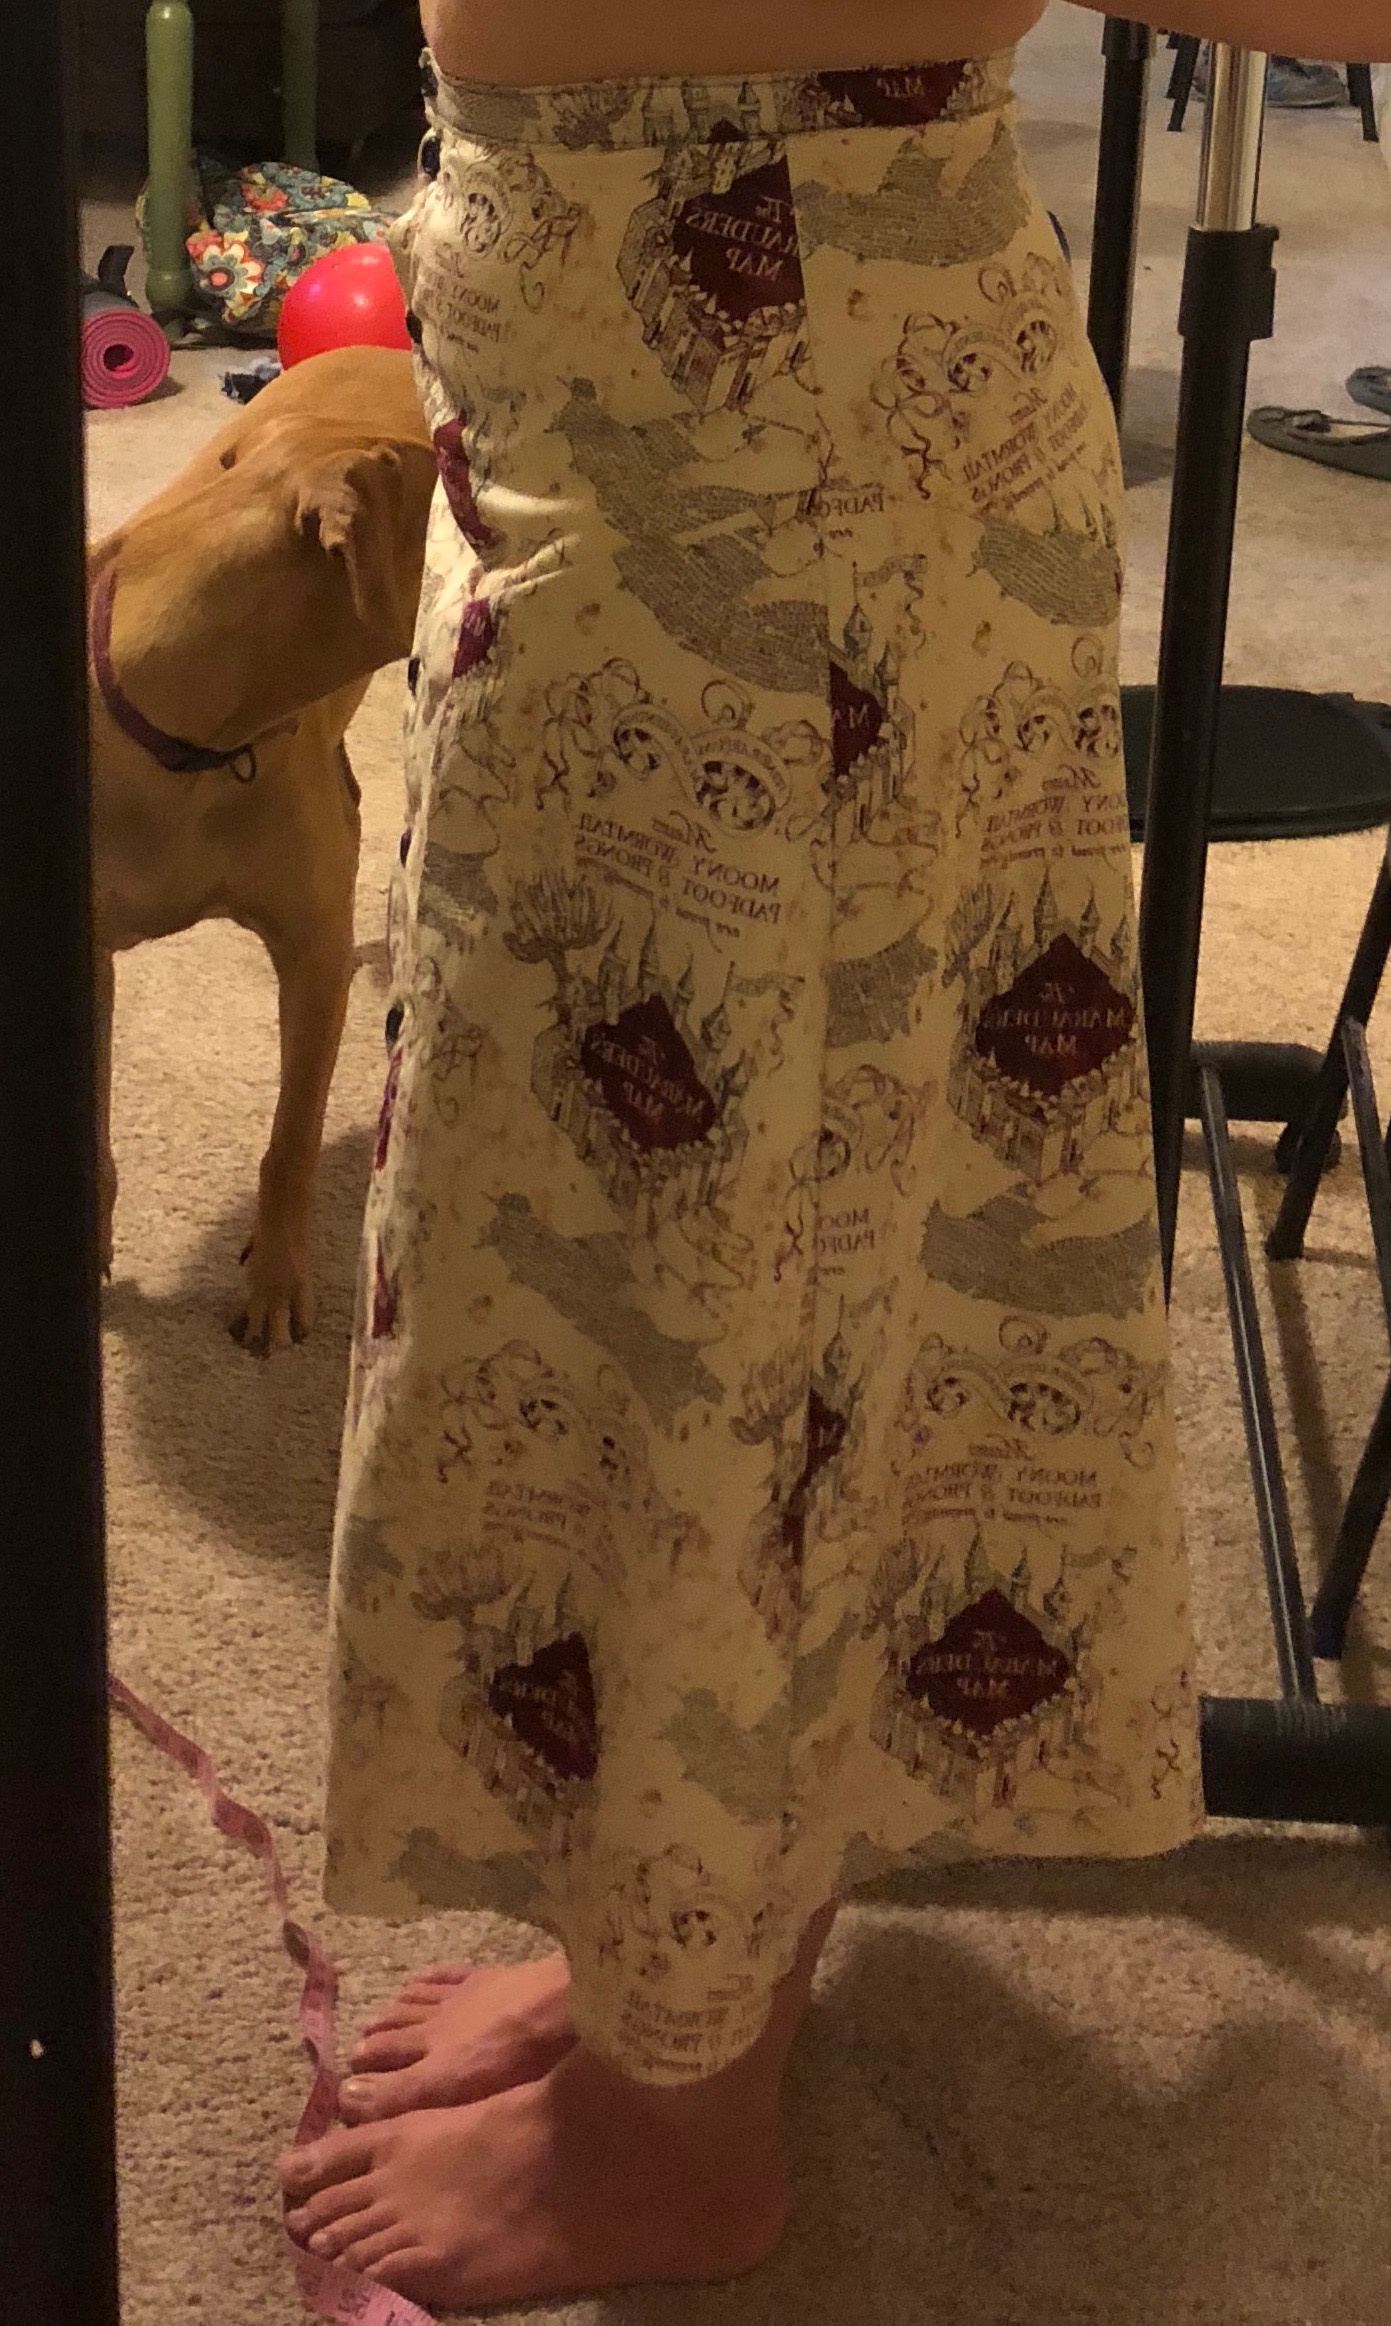
Pre-hem - plus a Ruby photobomb
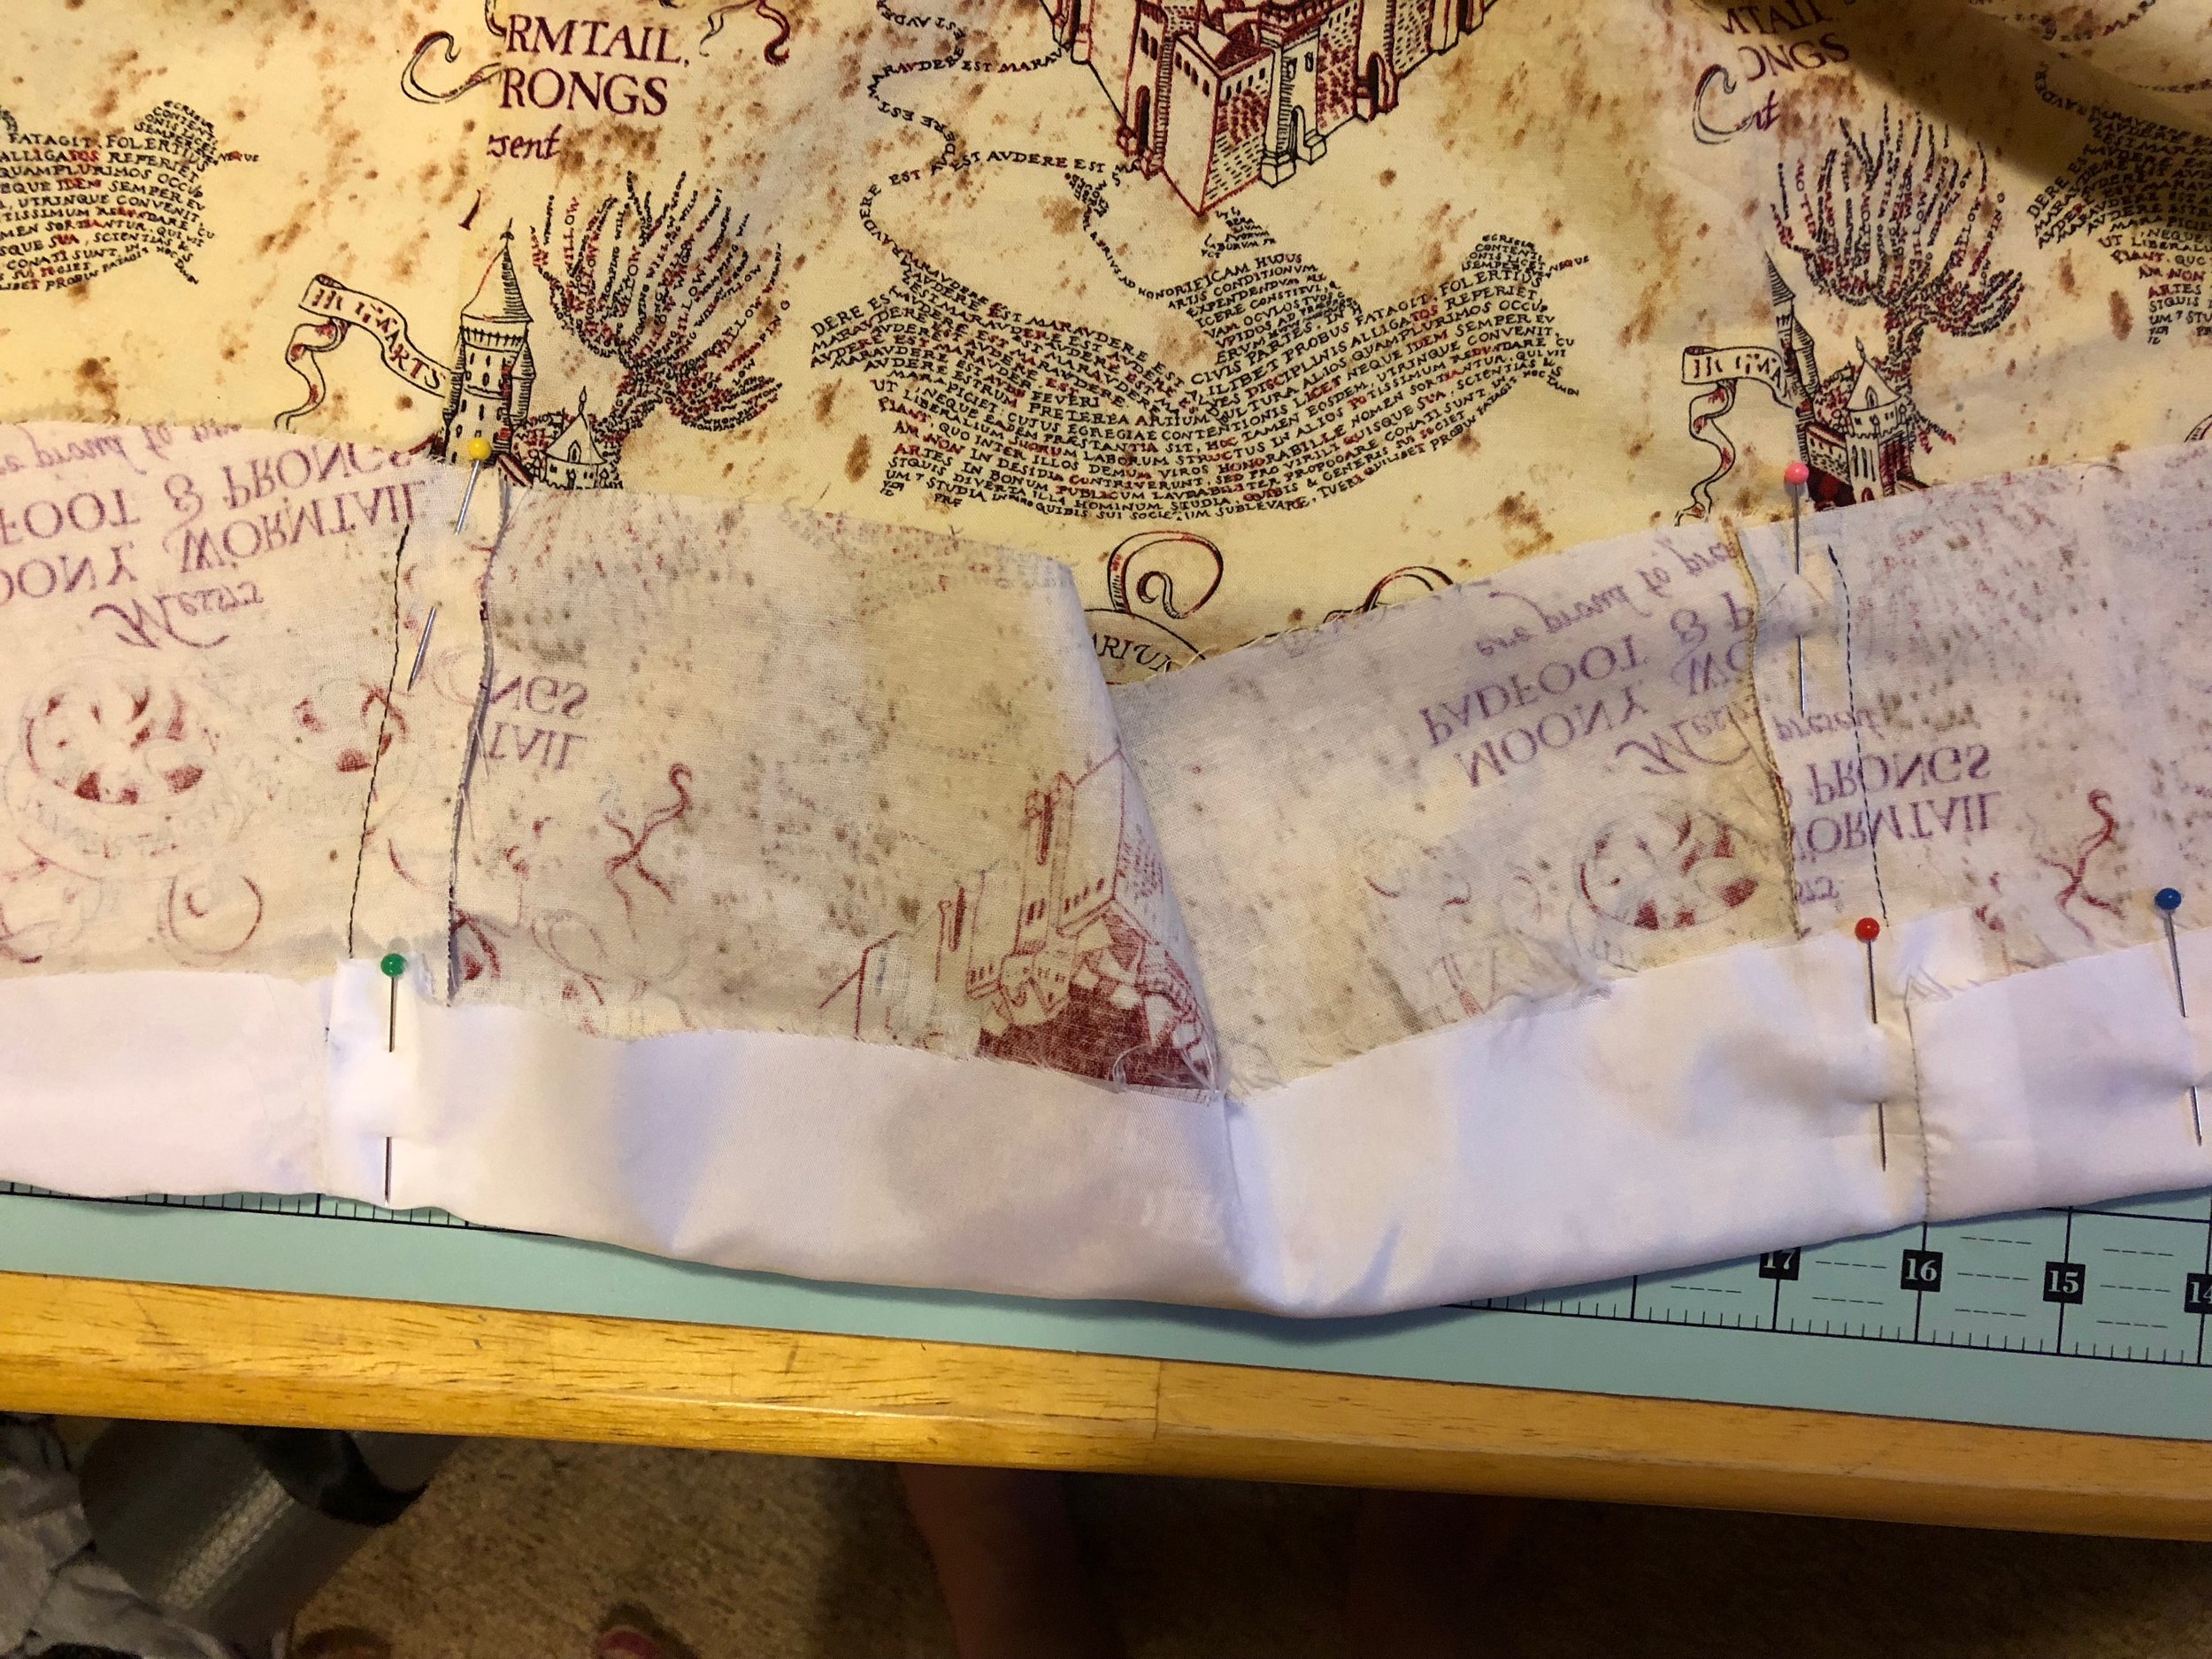
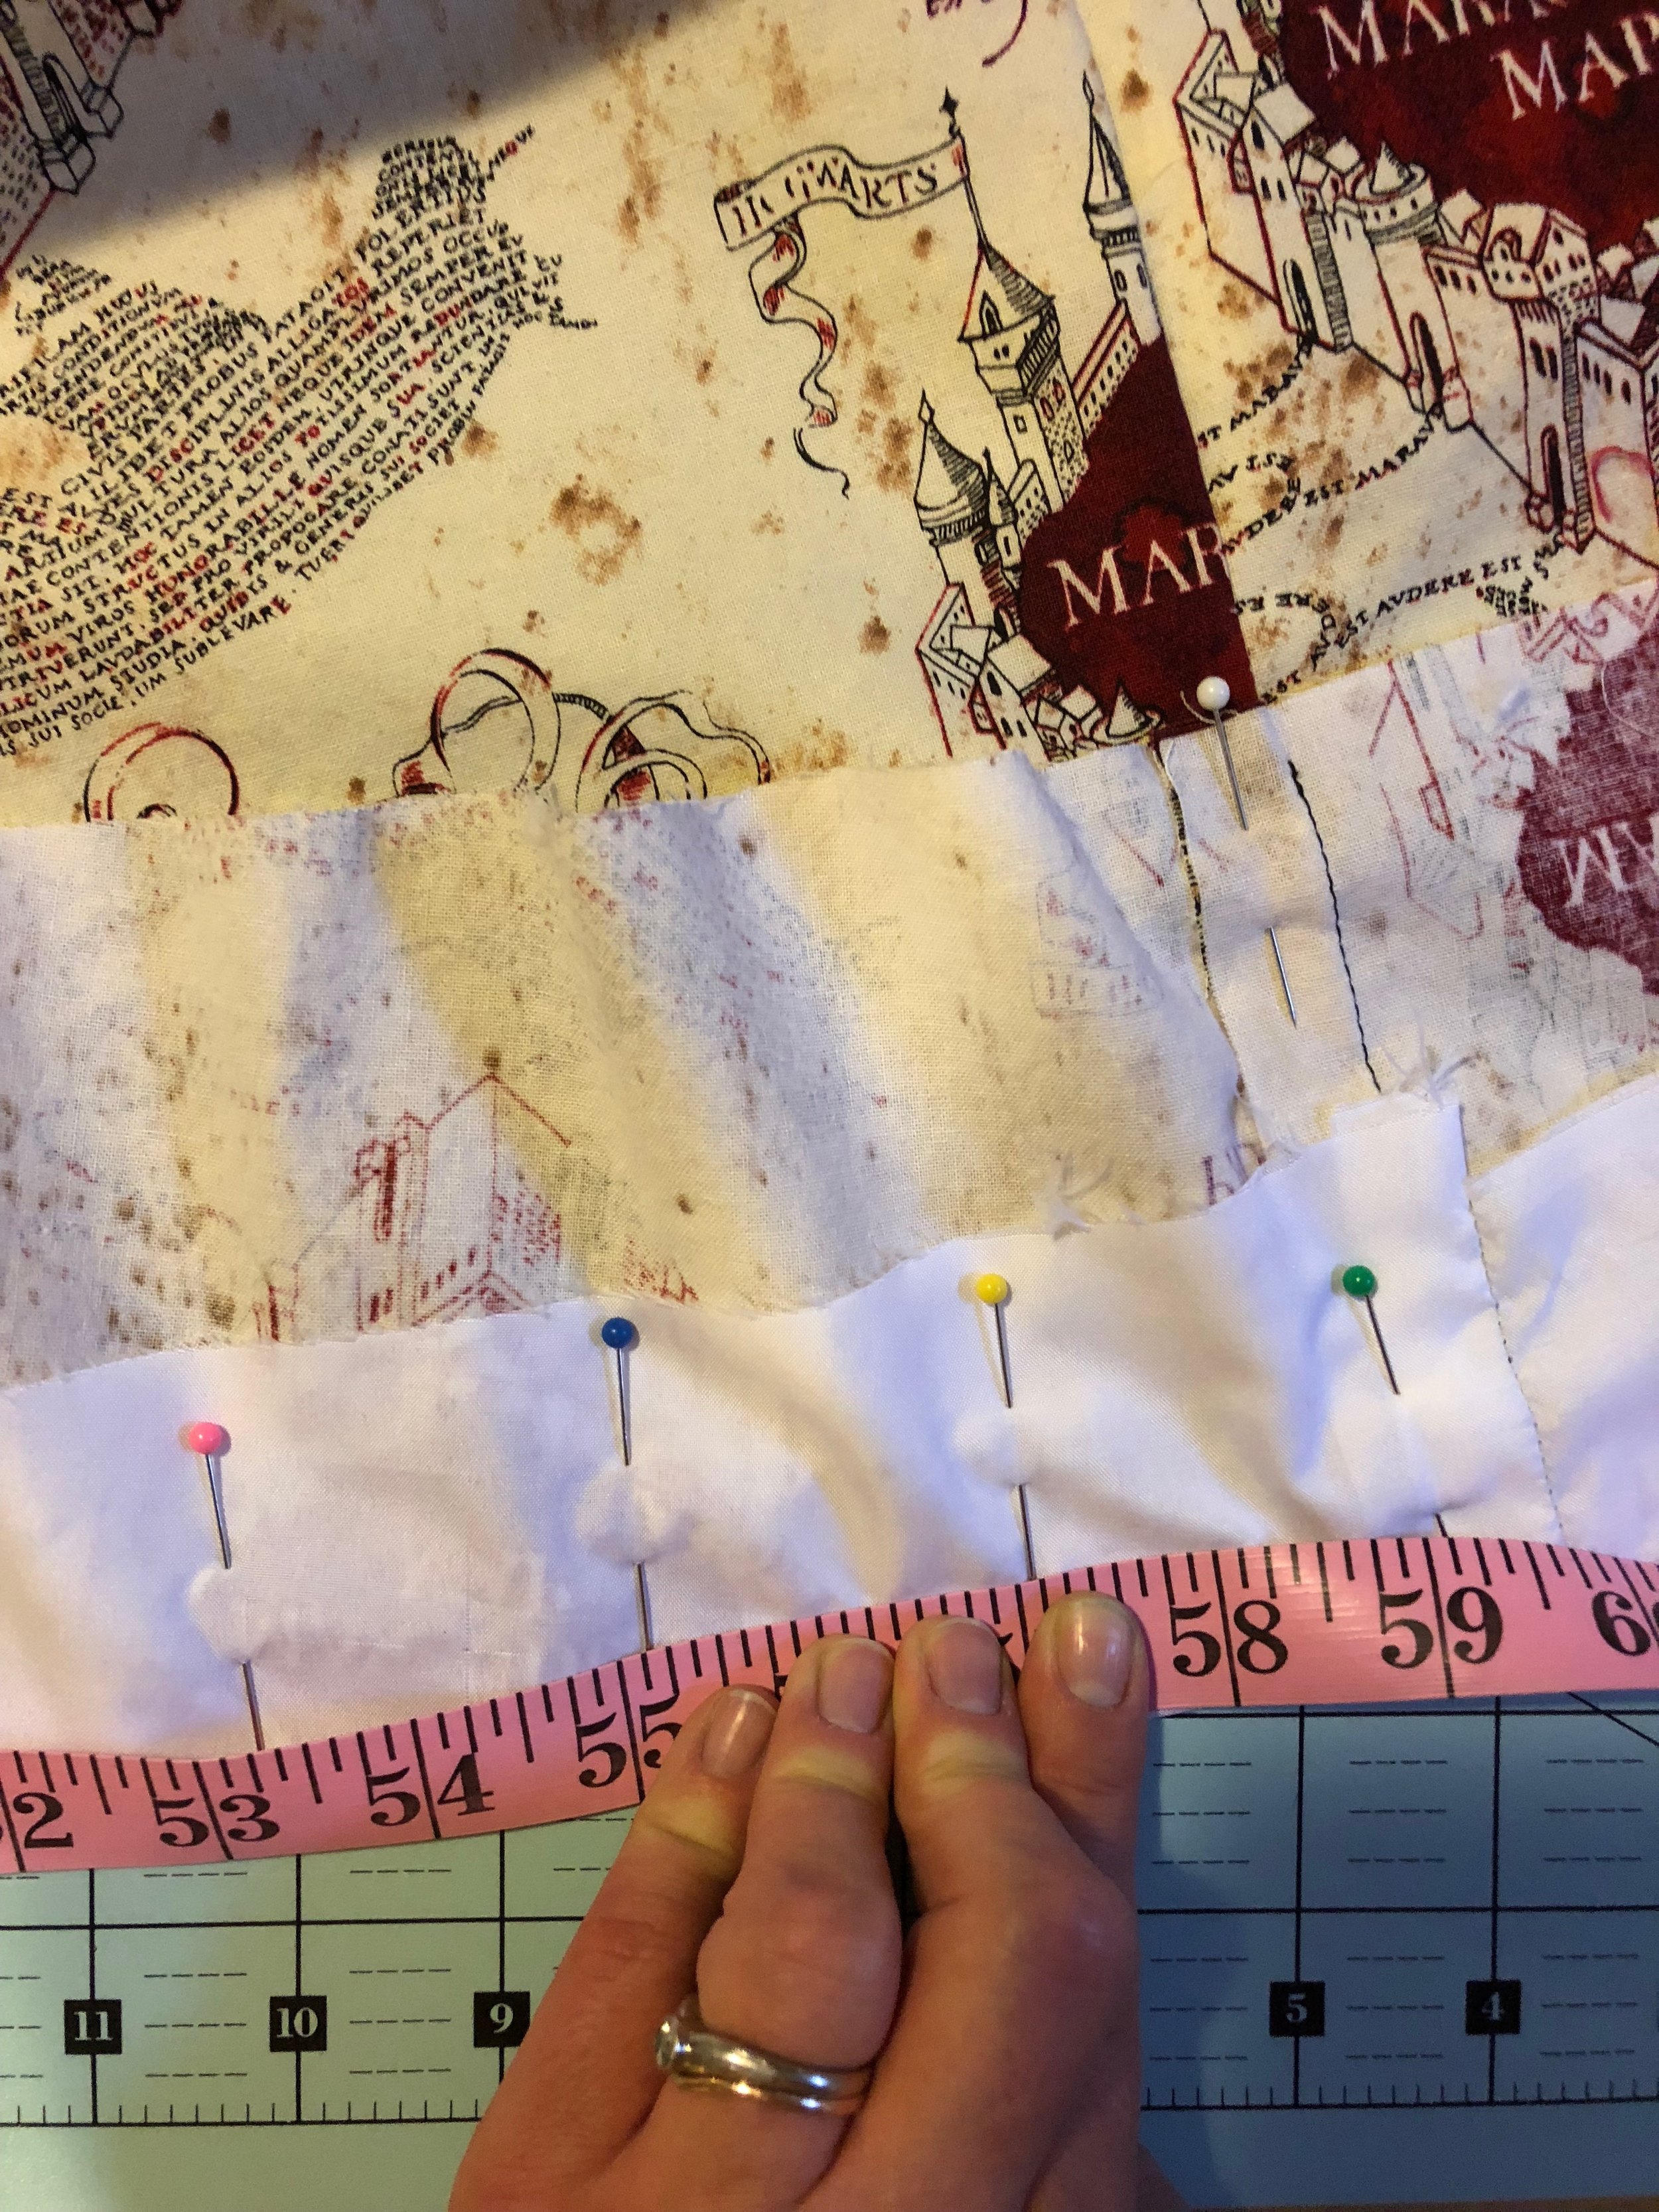
I followed the instructions to a T, but decided that I wanted a scalloped hemline. I figured it would be another unique touch to my skirt, plus it might help soften up the look of the fabric. I used this super helpful video as a guide. I ended up having 26 scallops that were 2.5 inches wide.
The idea behind a scalloped hem isn’t super crazy - you sew it inside-out, then turn it right-side-out. What makes this technique challenging and time consuming is that you need to pay more attention to each stitch. First, you have to measure the hem and figure out how many scallops you want/how big they’ll be. Then you draw those onto your pinned fabric. Then comes the sewing. Often, sewing a hem can be super easy, you get the feeling of "Woohoo - all I have to do now is hem!" But because here you’ve got curves and corners, you can’t (or at least I can’t) just zoom through this hem. I sewed slowly over each curve, and picked up the foot and turned my fabric at the beginning of each new scallop. Then came turning it right-side-out. Maybe with a different fabric, this would be easier, but I had to take care to push each scallop out and make it as curved as possible (they wanted to be more polygonal), and then press them. Maybe as I get more practice, this won’t be an issue.
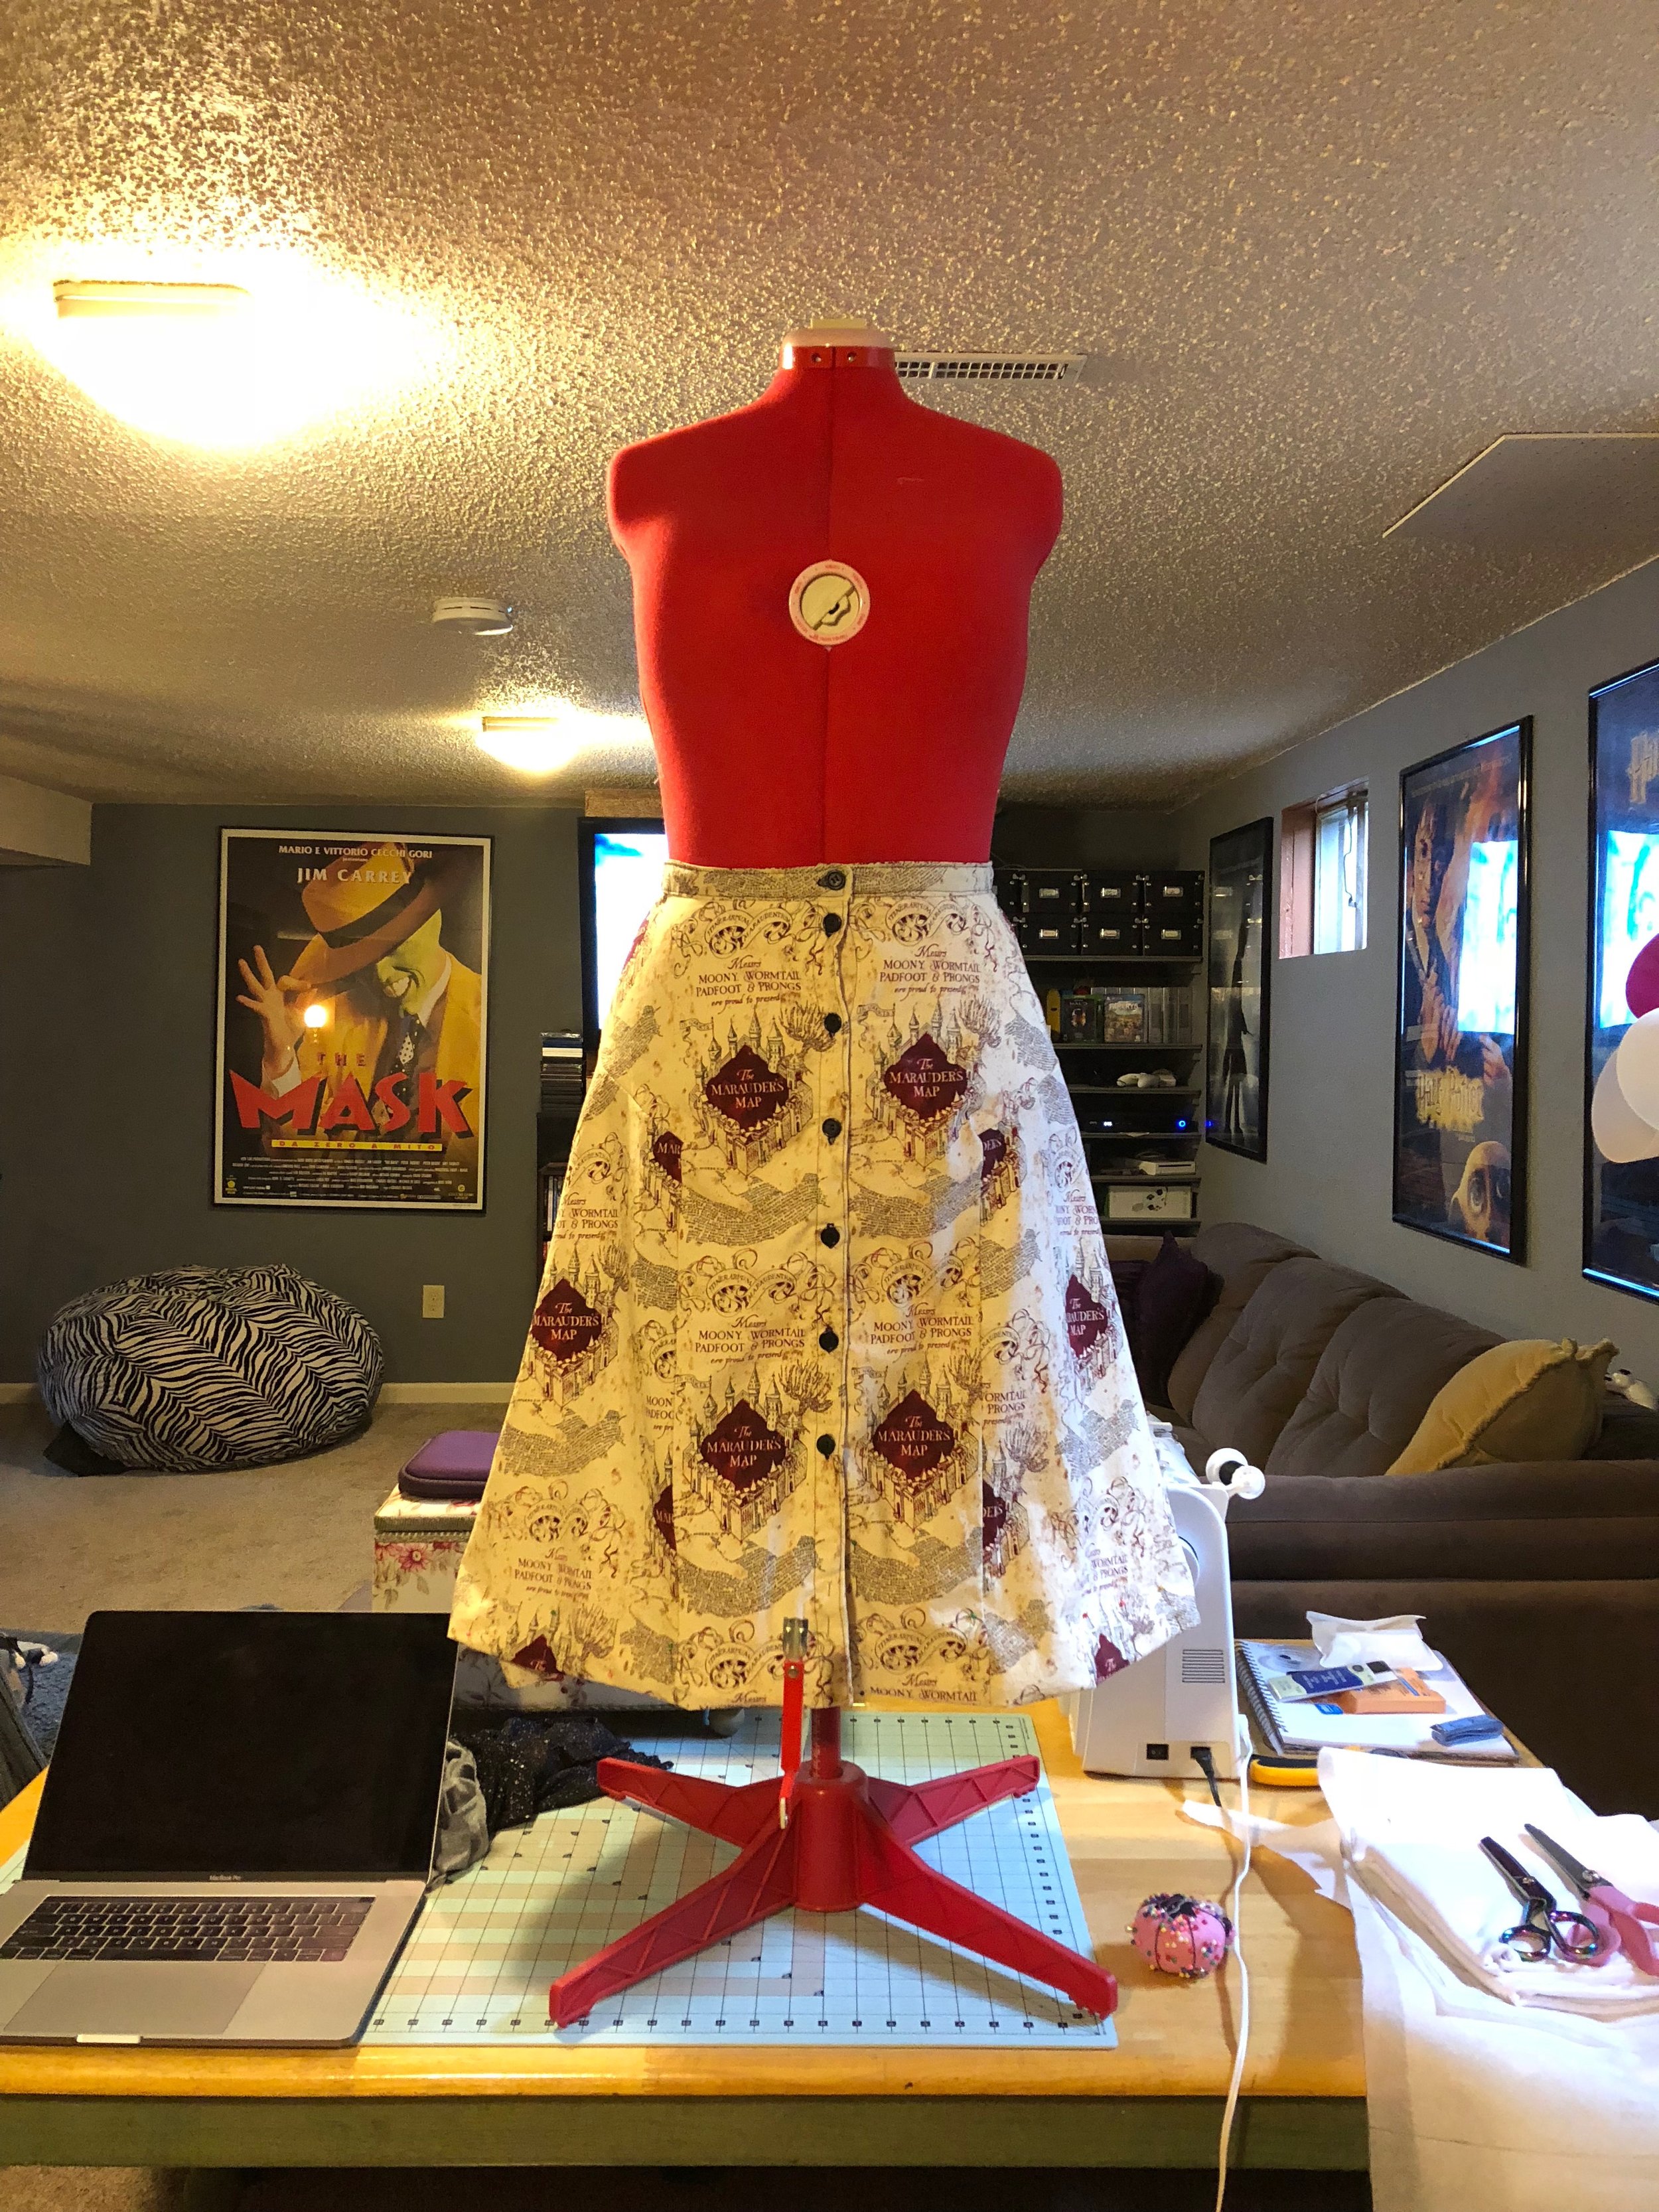
I loved that this project pushed me out of my comfort zone. I learned a new hemming technique, lined a garment, made a whole row of buttons, and tried a new skirt style. And now I am the proud owner of a one-of-a-kind Marauder’s Map skirt.
Mischief managed 😉


