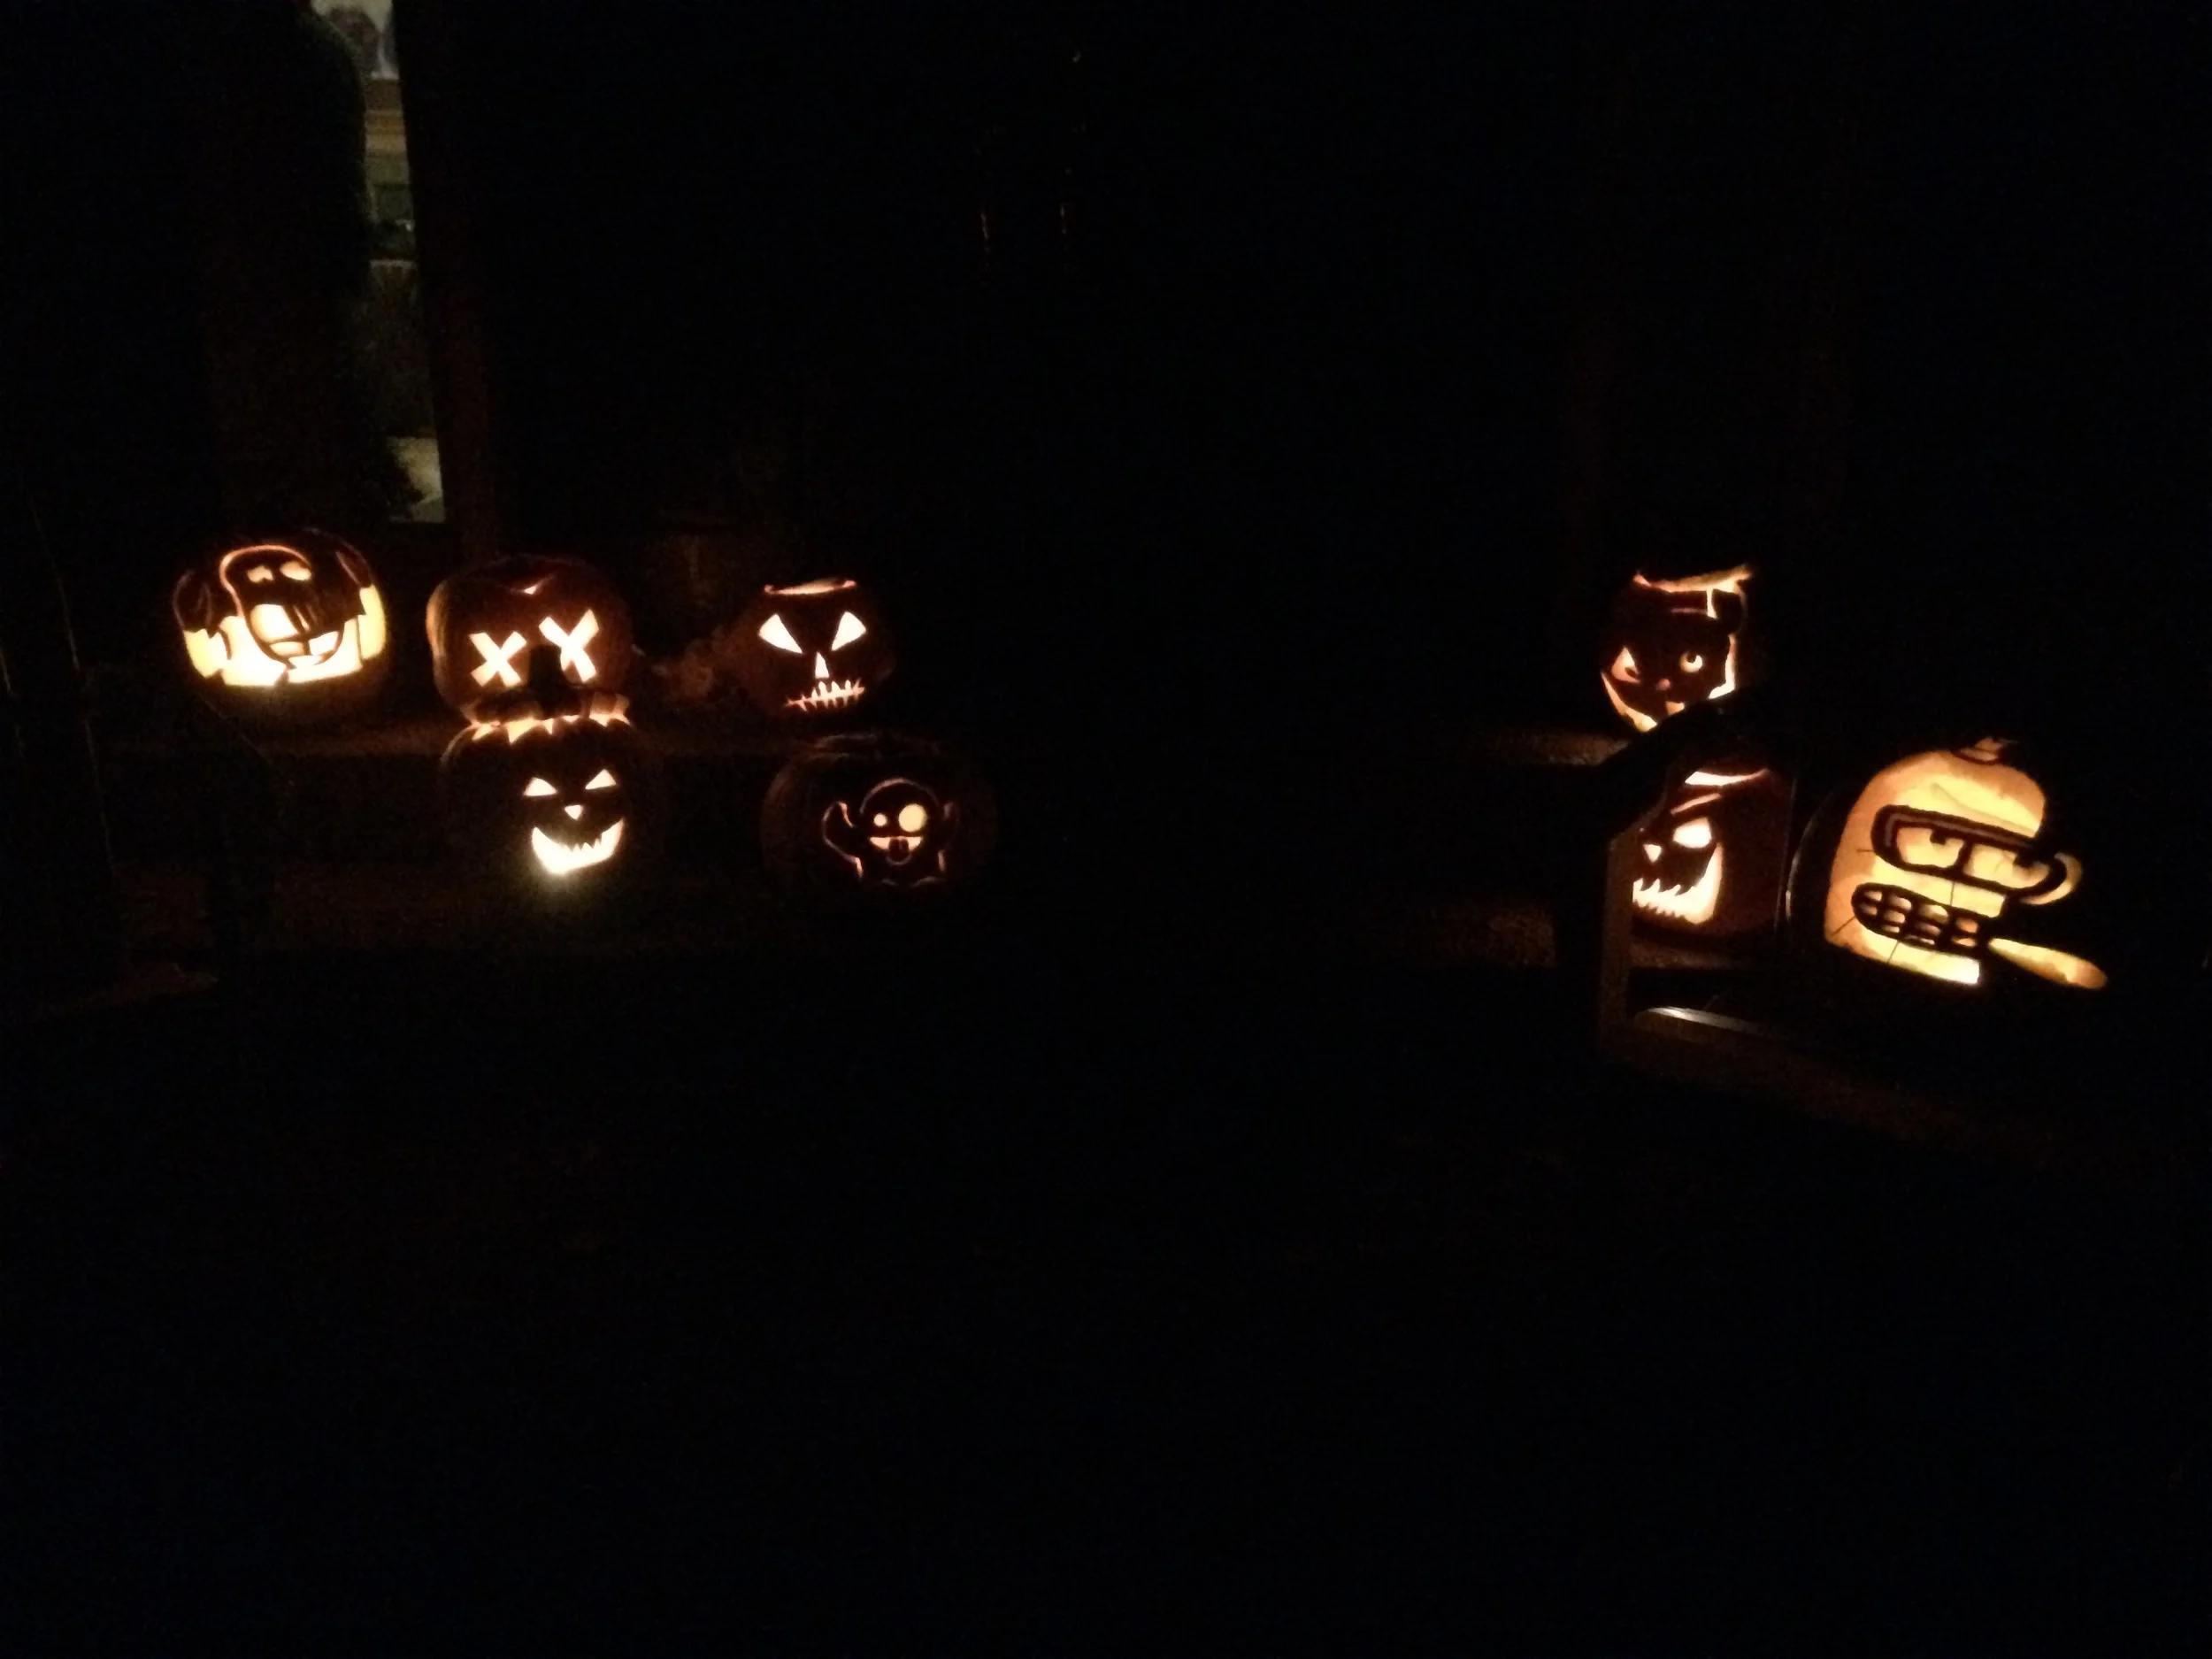
Halloween has always been a fun time for me - mostly because there is ample opportunity to be creative. Today's post is about pumpkins!
There's nothing quite like visiting the pumpkin patch, and in Colorado, you're bound to see all sorts of weather. The past two years was rainy, but this year when we went it was gorgeous and crisp, with some amazing clouds. We like to go to Munson Farms. They've also got squash and produce.
Picking out your pumpkin can be difficult. Each pumpkin is bound to have imperfections, so it's nice to know what you'll be carving before you go, so you can find one you think will fit your design.
Growing up, my pumpkin carving was typically a face made of simple shapes like triangles - nice and easy, right? They always turned out okay, and I was happy. But I always wondered how some of those people did those crazy, intricate pumpkins if they were just using kitchen knives! I have to thank Nathaniel and his family for introducing me to pumpkin carving tools, which I had NO IDEA existed until a few years ago. Crazy, right?
Well, my pumpkin carving went to a whole new level (not that it's amazing, but definitely a bit more detailed). Here are some pumpkins from the past few years:
Here are my pumpkin carving steps:
Pumpkin carving tools from left to right: Pokey tool to stencil your design, scraper for scraping out pumpkin guts, and little saw for intricate designs.
- Take the top off your pumpkin, probably using a normal knife. Have a notch somewhere in the circle, so you know the right way to fit the top back on when you're all done.
- Scrape out the inside as good as possible. Don't throw away the seeds! They are delicious (you can refrigerate them and save them for later, too)! If you're looking to make a gory or gross pumpkin, you can save the pumpkin guts, too.
- Draw your design on the pumpkin either using the pokey tool or a sharpie/pen. I prefer the pokey tool, because I don't like any sharpie marks left on my pumpkin once I'm done.
- Using the small saw, carve the pumpkin! This little saw is what allows you to do the more intricate details that a kitchen knife just can't. It might take a long time, and you might get tired of it, but your pumpkin will look great!
- Wash off your pumpkin, go outside, and put a candle in it!
This year's pumpkin! Cinderella's Castle :)
Here are some other tips I've come up with to help with your pumpkin carving:
- If you've chosen a super intricate design with lots of thin lines, wait until the last minute to carve your pumpkin. I've seen beautiful designs that have wilted quite quickly and don't make it to Halloween night. Nathaniel once made a Homer Simpson pumpkin that turned into an angry Homer quite quickly, and then collapsed within a couple days.
- Use toothpicks to put pieces back on that you didn't mean to cut off. You'll be happy to have them around, I promise.
Also, it can be super fun to do this with friends! We had a pumpkin party, which turned out to be awesome!
Have fun with your pumpkin! It can be an awesome, traditional Jack-O-Lantern, or you can do something completely silly. As long as you're happy, it'll turn out great.


